
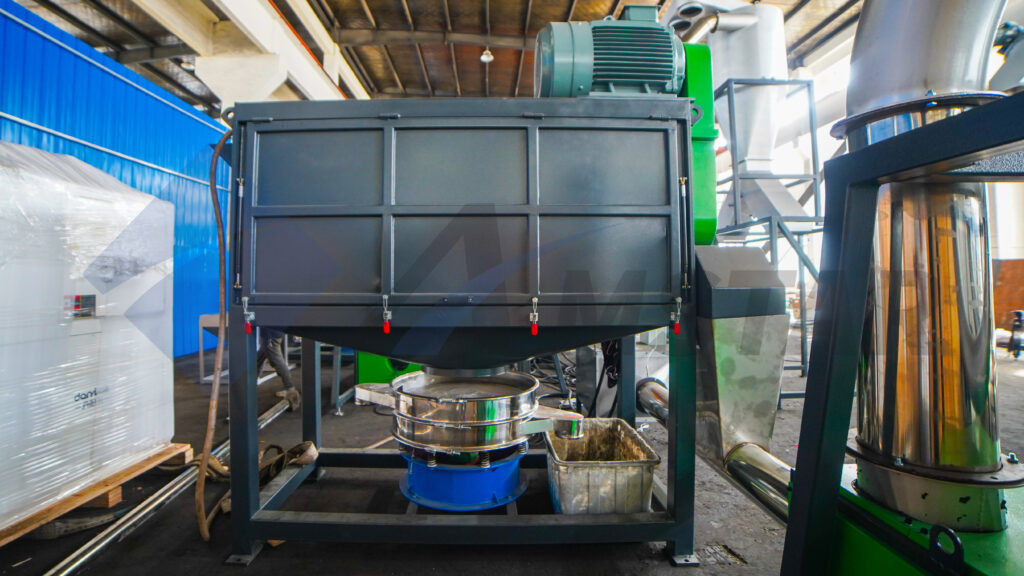
Centrifugal dryers play a vital role in plastic recycling systems, efficiently removing surface moisture from plastic flakes or pellets after washing. To ensure stable operation and long service life, regular inspection and maintenance of the bearing assembly are essential.
This guide explains how to disassemble the bearing and replace the main shaft safely and correctly.
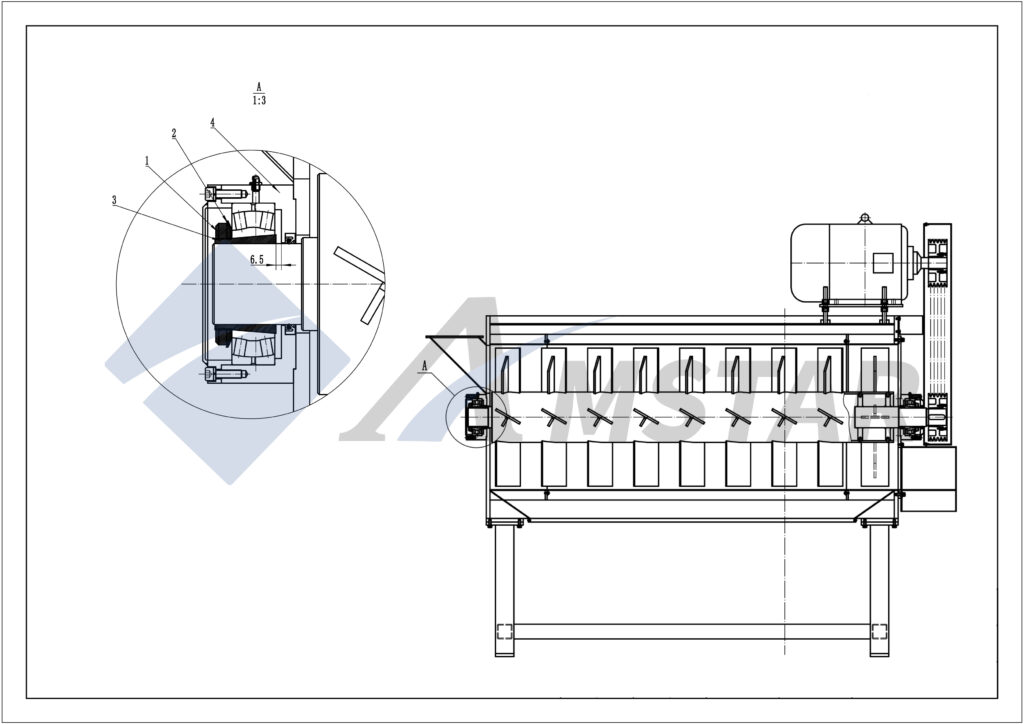
Component Identification
The bearing assembly typically consists of the following components:
| No. | Component Name | Description |
| 1 | Lock washer | Prevents the locknut from loosening during operation |
| 2 | Locknut | Secures the expansion sleeve and bearing tightly to the main shaft |
| 3 | Expansion sleeve | Provides a firm connection between the bearing and shaft |
| 4 | Bearing housing | Holds the bearing and connects it to the centrifugal dryer frame |
Bearing Disassembly Procedure
Follow these steps to remove the bearing assembly and prepare for main shaft replacement:
- Unlock the Lock Washer
Use a screwdriver or suitable tool to pry open the locking tab of the lock washer (part 1).
Make sure the tab is not engaged in the slot of the locknut (part 2). - Loosen the Locknut
Turn the locknut (part 2) counterclockwise about 4–5 turns to release pressure on the expansion sleeve.
Avoid removing it completely at this stage. - Release the Expansion Sleeve
Use a hammer and pry bar to gently tap the expansion sleeve (part 3) inward.
This action separates the sleeve from the main shaft and releases the bearing’s grip. - Remove the Bearing Housing
Once the sleeve is loosened, pull out the bearing housing (part 4) from the main shaft carefully.
The bearing and sleeve can then be inspected or replaced as needed.
Maintenance Tips
- Clean and inspect all parts before reassembly.
- Apply appropriate anti-seize grease on the expansion sleeve and shaft surface.
- Always use original bearing components to ensure balance and performance.
- After reassembly, check alignment and rotation before restarting the dryer.
Recommended Spare Parts for Centrifugal Dryers
| Part Name | Material | Typical Lifetime | Maintenance Note |
| Bearing | SKF/NSK standard | 12–18 months | Replace when noise or vibration occurs |
| Expansion sleeve | Carbon steel, hardened | 24 months | Inspect for wear during each service |
| Shaft seal | NBR/Viton | 12 months | Prevents water ingress |
| Locknut & washer | Alloy steel | 36 months | Replace if thread damage appears |
Video Guide
For a visual step-by-step walk-through, refer to the video embedded on our website (under Videos → “How to Replace a Bearing on a Centrifugal Dryer | Step-by-Step Guide”). The video covers the removal sequence, tools used, hammer and pry-bar technique, and safe separation of the bearing assembly.
Conclusion
Proper bearing disassembly and shaft maintenance are critical for ensuring the long-term reliability of your centrifugal dryer. Regular inspection not only prevents unexpected downtime but also extends the overall lifespan of the drying system.
For professional support or spare parts inquiries, contact Amstar Machinery — your trusted partner in plastic recycling solutions.
INQUIRIES
To learn more about this product, please send us a message using the form below: