Learn how to safely and efficiently disassemble a bearing assembly in just a few simple steps. This guide walks you through the process, using a centrifugal dryer bearing assembly as an example.
Bearing Wear Over Time
During long periods of operation, bearings naturally wear out and eventually need to be replaced. Disassembly is the first step toward proper maintenance or replacement.
Step 1: Remove the Bearing Cover
Begin by loosening the six screws on the bearing cover. Turn them counterclockwise and remove them completely.
Step 2: Tap the Bearing Cover
Using a hammer, gently tap inward to open up the bearing cover.
Step 3: Remove the Locking Pin
Look for a locking pin in one of the four notches. This pin prevents movement and keeps the assembly secure. Use a screwdriver to carefully pry it out.
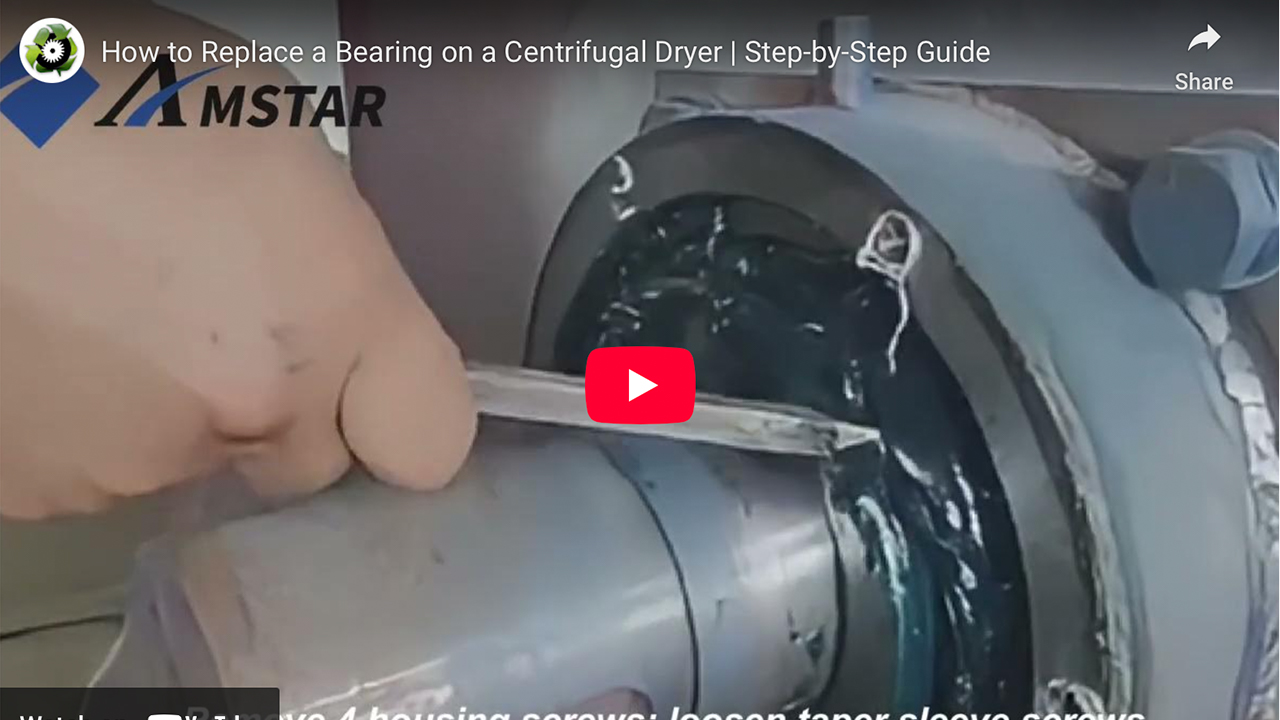
Step 4: Loosen Screws on the Housing and Taper Sleeve
Take out the four screws that secure the bearing housing. Then loosen the screws on the taper sleeve, but do not remove them completely.
Step 5: Release and Remove the Bearing
Tap the taper sleeve inward until you feel it shift into place. Finally, tap the top of the bearing housing and pull it out together with the bearing.
Summary
Disassembling a bearing assembly is straightforward when done step by step:
- Remove the cover and six screws
- Tap inward with a hammer to open
- Locate and remove the locking pin
- Take out four housing screws and loosen taper sleeve screws
- Tap the taper sleeve, then remove the housing with the bearing
That’s it—the bearing assembly is now safely disassembled and ready for inspection, maintenance, or replacement.
INQUIRIES
To learn more about this product, please send us a message using the form below: